Freestanding Millennium Falcon display with lighting
The Ultimate Collector Series (UCS) Millennium Falcon is an incredible LEGO set. It is absolutely huge, 33" by 23" and 28 pounds. My office has one in our common room, and this year I decided that I wanted to build a stand for it; a standard office table was not doing it justice.
Acceptable, but boring, way to display the coolest set ever
I started by making paper sketches of stand options. I wanted it to be free standing so that visitors to the office could be greeted in proper geeky fashion. I wanted the 'Falcon to appear to be taking off and easy for viewers to see.
Initial design (digitized)
Small-scale prototype
I was pleased with the small-scale prototype, and my coworkers were too. Bolstered by their feedback and the stability of the small design, I started work on the full size version. I scanned the 'Falcon with Polycam to get measurements and locations of its landing struts, then went back to Coremark to purchase enough steel for the full size version.
Polycam lets you pull measurements from a 3d model
- 1/8" Steel sheet for the landing pad
- Squares of 1/4" steel bar for the base (to make it heavy)
- 4' Length of square steel tubing for the upright
I assembled the base first. I used seven square 1/4" steel bars together to make a U shaped base that allowed space for wiring to come down through the upright, with a larger square 1/4" steel bar on top. I drilled a small hole in the center to run wires through. I tacked the small squares together before doing most of the welding, which helped to minimize warping of the steel from welding.
Base design
I used several additional pieces of 1/4" and 3/16" steel to build a small box to house electronics at the base and cover the gap left at the bottom of the base. I was happy with the upright angle I used on the prototype, so I copied it to the angle to the upright and cut it with an angle grinder. I beveled the edges a little bit to try to minimize the profile of the weld.
Attaching the landing pad was tricky, as my welding magnets and clamps did not work well to situate the upright. Eventually I made it work.
Full size stand welded and cleaned for painting
Fit test
Trimmed, taped, and wired
I installed a couple of (unnecessarily) large switches at the base, as well as a motion sensor. For the motion sensor I 3D printed an additional mounting bracket, since it had to be located above the base to detect movement.
Bracket for motion sensor, with rectangular hole at the base for a bar magnet and round hole for wiring.
I used 1 1/2" bar magnets for several parts of the assembly. First, I used the bar magnets to help anchor the 'Falcon's landing struts so that the force wasn't entirely on the rear struts. Second, I used a bar magnet to attach the motion sensor bracket to the base. Third, I used a bar magnet to hold the battery in place inside the base. Finally, I used bar magnets to attach a steel cover to the wiring chamber of the base.
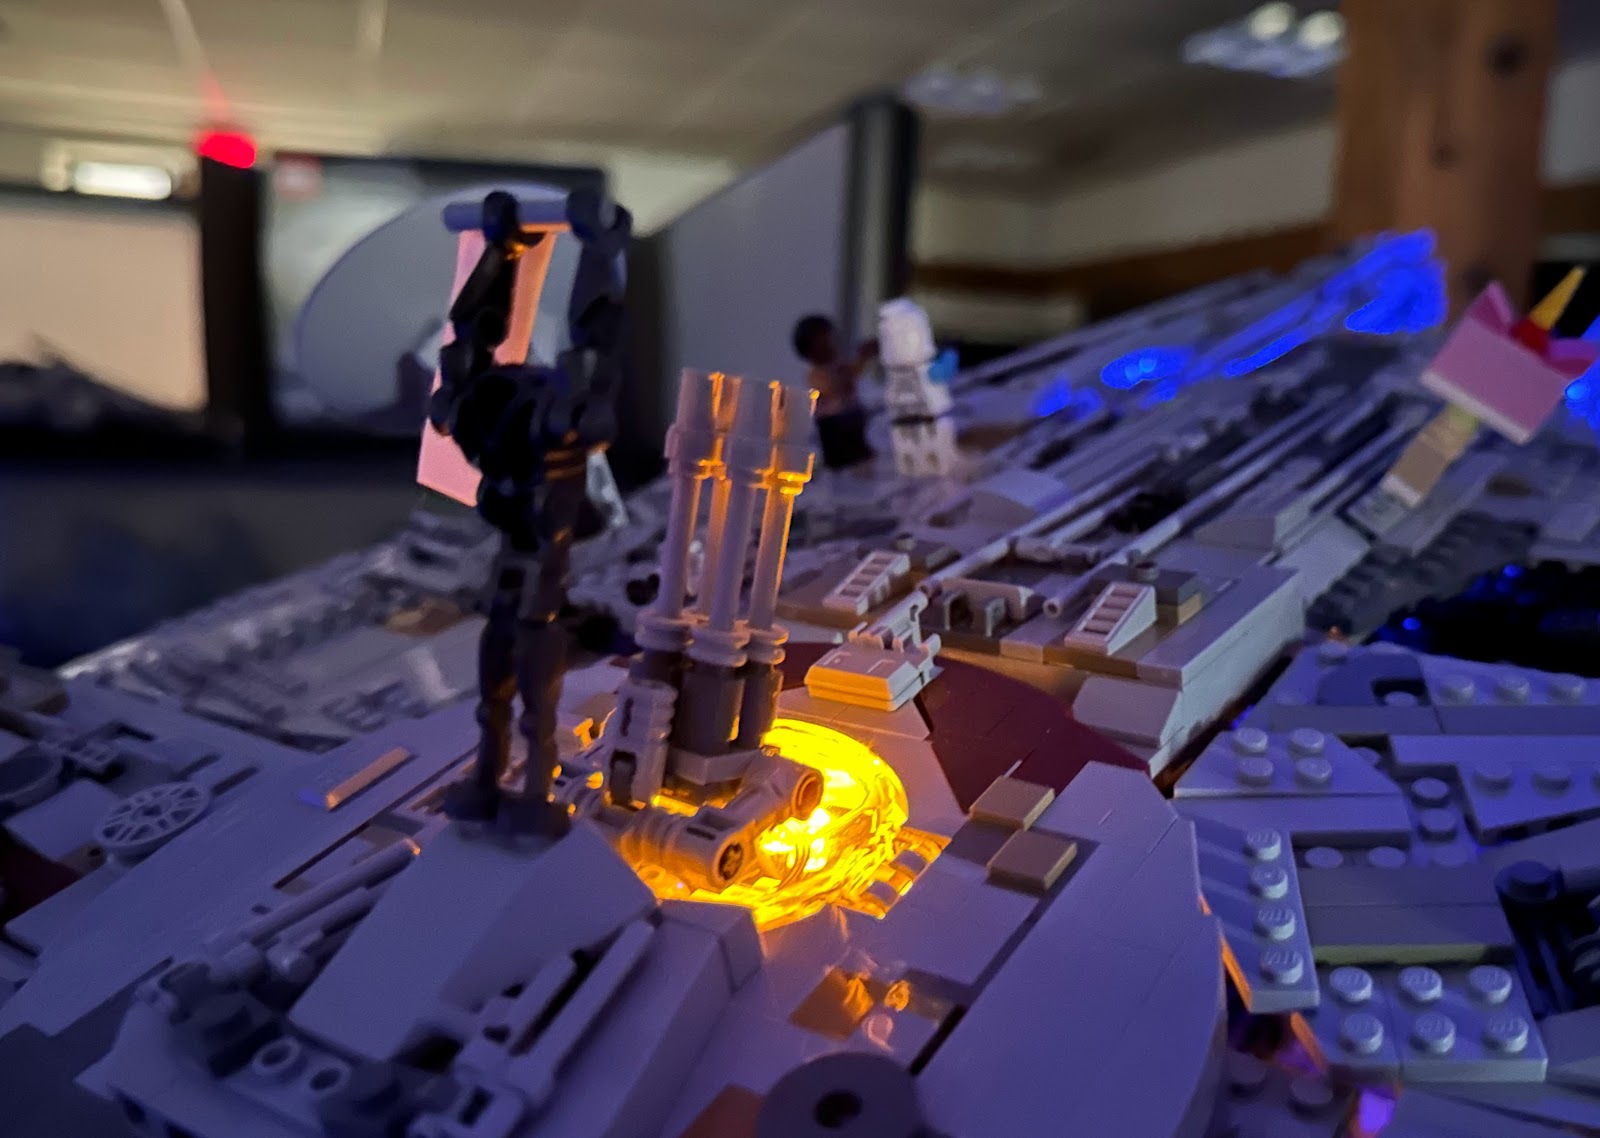
I ran blue LEDs to the front and rear of the ship, and red LEDs to the upper gunner's station. I'm pretty happy with the result.
The gunner's station lights up when people walk by
Everything is powered by a single 9v battery. The only power consumption is from the LEDs and motion sensor, so I am hoping it will last several weeks on one charge.


No comments:
Post a Comment